The following content may contain affiliate links. When you make a purchase using these links, I receive a commission at no extra cost to you. Thank you for supporting this website.
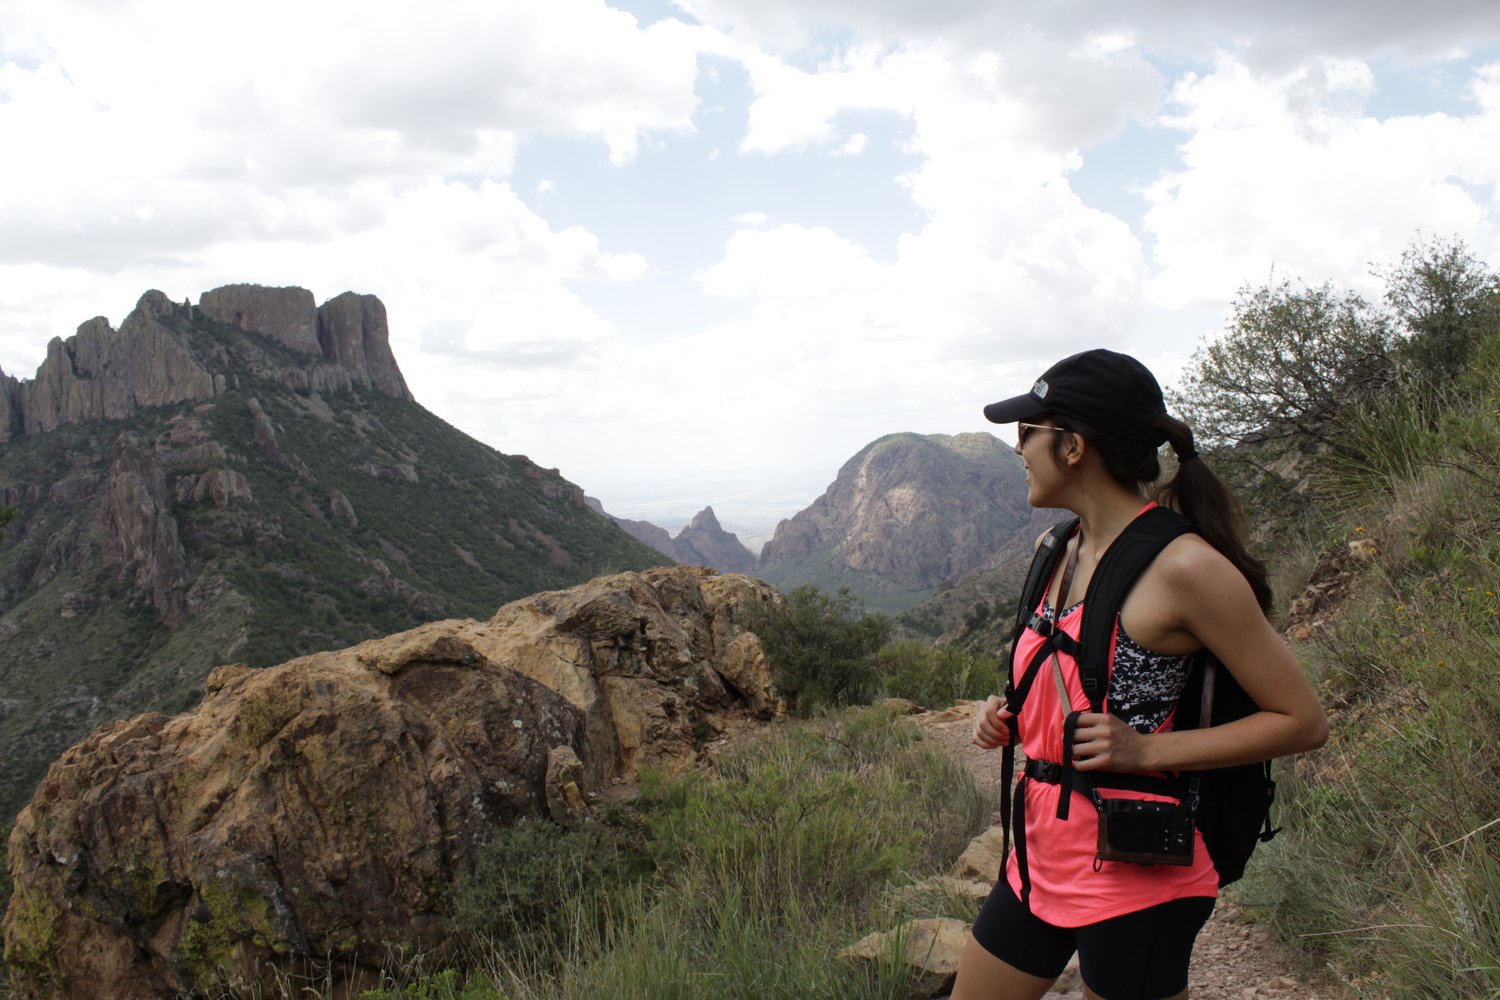
Want to know all of the beginner’s hiking essentials? This is the article for you!
Heading out for a hike is a wonderful way to explore nature, make memories, and break a sweat.
If you are new to hiking, however, it can seem intimidating and challenging. Going out into the wilderness and staying on your feet for miles and miles is both scary and rewarding.
Beginners may find it hard to get started on their hiking journey.
Maybe you are a beginner with those feelings of nervousness and trepidation. In this article, we will discuss some hiking basics for beginners so that you can get on the trail and have fun!
Before we dive deeper into this guide, let us start with the most basic question.
WHAT IS HIKING?
Hiking is any kind of walk that is not on the road or sidewalk.
There are many terms people generally use to refer to different types of hiking such as day hikes, backpacking, and thru-hikes.
Day hikes, as the name would suggest, are done in one day. They can range from less than a mile, to a full 12 to 16 hour day of hiking.
Backpacking, or trekking, are journeys in the outdoors over multiple days. If you go backpacking, you need supplies for staying overnight such as a tent, food, and water.
Thru-hiking starts at one location and ends at another location. These can take a very long time, and they require lots of preparation. Some popular thru-hikes in the United States include the Appalachian Trail and the Pacific Crest Trail.
Through out this guide, we will focus on day hikes for beginners.
If you are new to hiking, it is recommended to start out with day hikes before advancing to backpacking and thru-hikes.
Let us answer some common questions about hiking.
This article is all about beginners hiking essentials.
HOW DOES ONE FIND OR CHOOSE THE BEST DAY HIKES?
There are so many resources on the internet to find the perfect hike.
- AllTrails: This is a good way to find hikes through searching by region or park name. They tend to classify hikes based on level of difficulty, distance, and elevation gain.
- Google or blogs are great ways to search for hikes in a particular area. For instance you can search, “Best Hikes in Big Bend” or “Best Hikes in the Austin Area” to see what comes up.
WHAT DO I NEED TO CONSIDER WHEN CHOOSING THE BEST DAY HIKE?
There are several things one should consider when choosing the best hike such as distance, elevation gain, weather, and how remote the location is. Below are in-depth considerations to think about while selecting a hike.
How far is the hike?
Choose a hike that best suits your fitness level. Obviously, the further the hike, the harder it will be, and make sure you have plenty of time to complete the hike.
Naismith’s Rule is the general rule of thumb made in the 1890’s by the famous Swedish hiker, William Naismith, on how to estimate walking times.
According to this rule, it takes 20 minutes to hike each mile plus 60 minutes for every 2,000 feet of elevation gain. As long as you are in fairly good shape, and the weather conditions are mild as in no snow, ice, or slick mud, this is a good rule to follow.
Based on experience, however, it takes much longer per mile while carrying a heavy backpack. With heavy gear, in my experience, it takes 30 minutes per mile, so plan accordingly.
Also plan for water breaks.
What is the elevation gain?
Elevation gain can greatly impact the level of difficulty and how fast you can move through the hike.
Keep in mind elevation gain is not simply the difference between the highest point and lowest point on the trail. A trail can start at 200 feet elevation and end at 200 feet elevation, but there could be a lot of rolling hills that go up and down along the way.
When looking at hiking summaries, you will typically see two different terms used to describe elevation.
Elevation/Highest Point is the elevation above sea level at the hike’s highest altitude.
Elevation Gain is the amount of cumulative elevation between the trailhead and the end point.
Generally, “elevation gain” is the number you care about since this will tell you how much elevation you will actually be ascending.
“Highest point” is also good to know for altitude preparation, especially in the winter time as snowy conditions change the higher you go in altitude which can lead to more treacherous conditions.
As a beginner, know how far you will climb in altitude is helpful information to select a hike with an achievable amount of elevation gain per mile based on your fitness level.
How do you calculate elevation gain per mile?
Divide the roundtrip mileage by two, then divide that number by the elevation gain.
For example, for a 4-mile round trip hike with 1000 feet of elevation gain, the elevation gain per mile is listed below:
4 miles divided by 2 = 2 miles. Divide 1000 feet of elevation gain by 2 miles = 500 feet gain per mile.
Below is good rule of thumb for deciphering which hike is most difficult:
200-400 feet/mi. | Easy
400-700 feet/mi. | Moderate
700-1000 feet/mi. | Difficult
1000+ feet/mi. | Advanced
If you are a total newbie, it is recommended that you choose a hike with no greater than 250 to 400 feet of elevation gain per mile. If you are already an avid walker or runner, your body may be well-conditioned for hilly areas.
What is the weather like that day?
The weather will greatly impact the difficulty of the hike. If it is a very hot day, you will likely be slowed down and taking lots of water breaks. This will cause your pace to be slower than that of the Naismith’s rule which states to account for 20 minutes per mile and 60 minutes for every 2000 feet of elevation.
For instance, if you are hiking in Texas in the summer, such as in Big Bend National Park, the National Park Service recommends to bring one gallon of water per day per person during the summer months. It is very important to take frequent water breaks to avoid dehydration.
If it is snowy or rainy, you will need to dress accordingly. As a beginner, I do not recommend going for a hike in these conditions. Hikes are most fun on warm, sunny days, especially if you are new!
How remote is the location?
Some trails are very remote and far from cell service. Many hikes have no toilets or water for use. Not to fret, this is part of the fun of hiking as you get to unplug from the digital world and fully immerse yourself in mother nature even if it is only temporary.
Keep in mind that this means you will need to be prepared for such conditions. Be prepared to use the restroom outside, bearing in mind the “Leave No Trace” principle (more on that later). Share your itinerary with someone else for safety reasons. And most importantly, bring plenty of food and water.
WHAT YOU NEED TO PACK FOR A DAY HIKE:
1. Head lamp

This is an essential item for hiking in the early mornings or after dark. On many trails in remote areas, night time is pitch black. Although perfect for observing the stars, it is impossible to see without a light. Headlamps are essential for safety so you spot uneven terrain or even animals. Make sure to have fresh batteries.
2. Water

Water is essential for a hike. In my experience, this water reservoir makes carrying water much easier. In general, in good weather conditions, you should have a half liter of water per hour of hiking. That means for a 5 hours hike, you will need 2.5 liters of water. The water bladder makes it possible to drink while walking so you don’t even have to stop to take a sip. It fits into most hiking backpacks as well.
3. Food
How much food do you need for day hike, exactly? This depends on how long you will be out there on the trail. If you will be out there for most of the day, aim to pack 1.5 to 2.5 pounds of food, or 2,000 to 4,000 calories. It is important to stay well nourished on the trail because hiking burns a lot of energy!
4. Camera


To document your adventure, don’t forget your camera! One of the best reasons to hike is to enjoy and take in the beautiful views. Some of the best places to take photos require some walking on foot.
5. First Aid Kit

Just in case you need medical attention, it is wise to carry first aid supplies with you. Most hikes take you to remote areas, so it is very difficult to get first responders on scene quickly. Carrying some basic medical supplies will be very important if you need it. Not to mention, if you get a blister on the trail you will want a bandaid so you can keep walking.
6. Solar Powered Charging Bank

This is mostly needed if you embarking on a hike that could take you most of the day. In the outdoors, you will not have a way to charge your electronics, so I highly recommend keeping this with you as a back up plan.
This is great for charging your phone and camera so you can record the epic adventure that you are on. I personally liked to tie this to the outside of my hiking backpack so the sun can charge the battery. This particular charging bank comes with a flashlight as well which is handy for after dark.
7. Sunscreen

Wearing a good quality sunscreen will protect your skin from the sun’s UV rays so you are less likely to get sunburned. I recommend bringing a small container of sunscreen with you so that you may reapply it throughout the day.
8. Bear Bell or Portable Speaker


If you are hiking in the bear country, it is best to make noise while hiking in order to make yourself known. Bears do not like to be surprised by humans. “Advertise” your presence by wearing bells, singing, clapping, etc. If you prefer to listen to music, you could bring a portable speaker. Just be respectful of any hikers around you. Per hiker etiquette, don’t play music around other people, as everyone is trying to enjoy the outdoors.
9. Bear Spray

While on the topic of bears, let’s not forget about bear spray. You need this if you are hiking in the bear country. Some parks, however, do not allow the possession of bear spray so check with your park’s rules and regulations before purchasing any. Furthermore, you cannot bring bear spray onto an airplane, so unless you are driving to your hiking destination, buy bear spray after you land.
10. Hand Sanitizer or Hand Wipes


I recommend bringing a small bottle of hand sanitizer or hand wipes. Whenever you stop to eat your snacks you will like to clean your hands first. Out in nature, your hands will be getting dirty. Just remember the “Leave No Trace” principle, meaning bring all your trash with you and do not leave it on the trail.
11. ID, Cell Phone, and Other Personal Items
For obvious reasons, don’t forget your basic items you keep with you such as your cell phone, keys, wallet (with ID), and/or cash.
THE BEGINNER’S HIKING ESSENTIALS
GEAR YOU NEED
If you do not own hiking gear yet, it is ok! The basics you need are a back pack (even your high school back pack will work), water bottle, and tennis shoes when you are starting out on short distances. If you are going on longer day-hikes, though, below are some things I recommend to make your trip more enjoyable and comfortable.
1. Hiking Backpack

In the case of many day hikes, you will be out on the trail for several hours, so having a comfortable fitting back pack is vital. I recommend checking out a local REI or other outdoors store with professionals who can help you choose a pack that properly fits your height, back, and shoulders. Preferably, your back pack will include a pouch to hold a water reservoir.
In my past hikes, I have used my old college back pack without thinking and I did not consider how, after many hours, the straps would lead to very uncomfortable back and neck pain. I now use a women’s daypack that is better suited for my body frame, giving my back so much relief. It even has a mesh back panel for ventilation and it holds a three liter water reservoir. Getting a comfortable, ergonomic backpack is worth the investment.
2. Hiking Boots or Shoes

The above shoes are the exact hiking boots I have used lately. As stated earlier, when you are a beginner hiking shoes are not necessary. All you really need is a good pair of tennis shoes with good traction. As you advance, you may consider investing in a good pair of hiking shoes or boots.
Choosing the best footwear for hiking depends on the terrain, the distance, and the type of hiking you will do. Different types of shoes are recommended for day hikes versus backpacking vs trail running.
3. Hiking Poles

Bringing hiking poles is optional, especially if you are traveling a short distance, as in less than 4 miles. However, in my experience, I found hiking poles helps for stability on uneven terrain and distributing weight. When I hiked to Half Dome, I did not bring hiking poles and regretted it due to my sore knees that followed for three weeks.
4. Hiking Clothing


Make sure you dress for the weather. I recommend boot socks for your hiking shoes, a moisture-wicking shirt, something for face protection such as neck gaitor, and a hat for sun protection.
HOW TO STAY SAFE ON THE TRAIL
Leave your itinerary with a friend or family member.
Let someone know where you are going and for how long you should be out there. In case something happens to you, someone will know to come searching for you.
Leave your itinerary in your car for search and rescue efforts to find.
In case of an emergency, write down your itinerary with dates and locations for search and rescue personnel to locate in your vehicle. A stranded vehicle at a trail head will be noticed by park rangers.
Carry a map of the trail and a compass.
This will help you from getting lost. You can also take a picture of the park’s map at the trailhead.
Carry a first-aid kit.
This will help you bandage up some scrapes and blisters until you can seek medical attention for more serious injuries.
Know your limits.
Take breaks as needed. If you’re short on time, energy, or water, consider turning around for safety.
Hike safely.
Especially while in mountain lion and bear country. Walk in groups. Do not allow children to run or get ahead.
LEAVE NO TRACE
Leave No Trace is a set of seven principles intended to reduce human impact on the environment. Every hiker has a responsibility to learn and retain these principles, as well as apply them to their hiking practice. It takes all of us to conserve nature and wildlife so that hikers may enjoy the outdoors for years to come.
1. Plan Ahead and Prepare
Practicing the Leave No Trace guidelines requires preparation. Take an inventory of what you need to pack with you on the hike, and prepare to carry all trash with you.
2. Travel & Camp on Durable Surfaces
It should be every hikers goals to travel while causing minimal damage to wildlife and vegetation. Travel damage occurs when organisms are trampled beyond recovery. Stick to the designated walking paths. This reduces the likelihood that multiple trails will develop which can lead to soil erosion and scarring the landscape. Not to mention, by venturing off the trial, you risk injuring yourself.
3. Dispose of Waste Properly
Pack it in, pack it out. Carry all trash with you from your hike. Do everything you can to minimize human impact on the environment
When it comes to day-hikes, there may not be a toilet for you to use. It is very important to dispose of human waste properly to avoid contaminating water sources, spreading diseases, and scarring the landscape. In some areas, properly burying solid human waste is acceptable but some places require you to carry it out. There are pack-out systems commercially available for this.
They say that urine has little direct effect on vegetation or soil. Diluting urine with water from a water bottle can help minimize negative effects such as attracting wildlife that are attracted to the salts within urine, causing them to dig up vegetation.
4. Leave What You Find
Leave No Trace states, “Allow others a sense of discovery by leaving rocks, plants, archaeological artifacts and other objects of interest as you find them.” The goal should be to minimize any and all disruptions to the natural landscape. Don’t take any rocks, plants, or creatures from their habitat.
5. Minimize Campfire Impacts
Although you are unlikely to build a campfire on a day hike, this principle is still very important to learn. Building fires and collecting firewood damages the environment over time. The use of stoves is recommended as they leave no trace and do not contribute to the increasing demand for firewood. If you do build a fire, the best place to do so is in an existing fire ring.
6. Respect Wildlife
Do not touch, feed or get close to wild animals. Even the smallest of creatures should not be disturbed. Travel quietly and do not chase any animals you see. The only exception is in the bear country where you should make a little noise so that they avoid you.
7. Be Considerate of Others
Share the trail and be courteous to others. I think the “Golden Rule” many of us learned in elementary school is a good principle to go by – treat others as you would like to be treated.
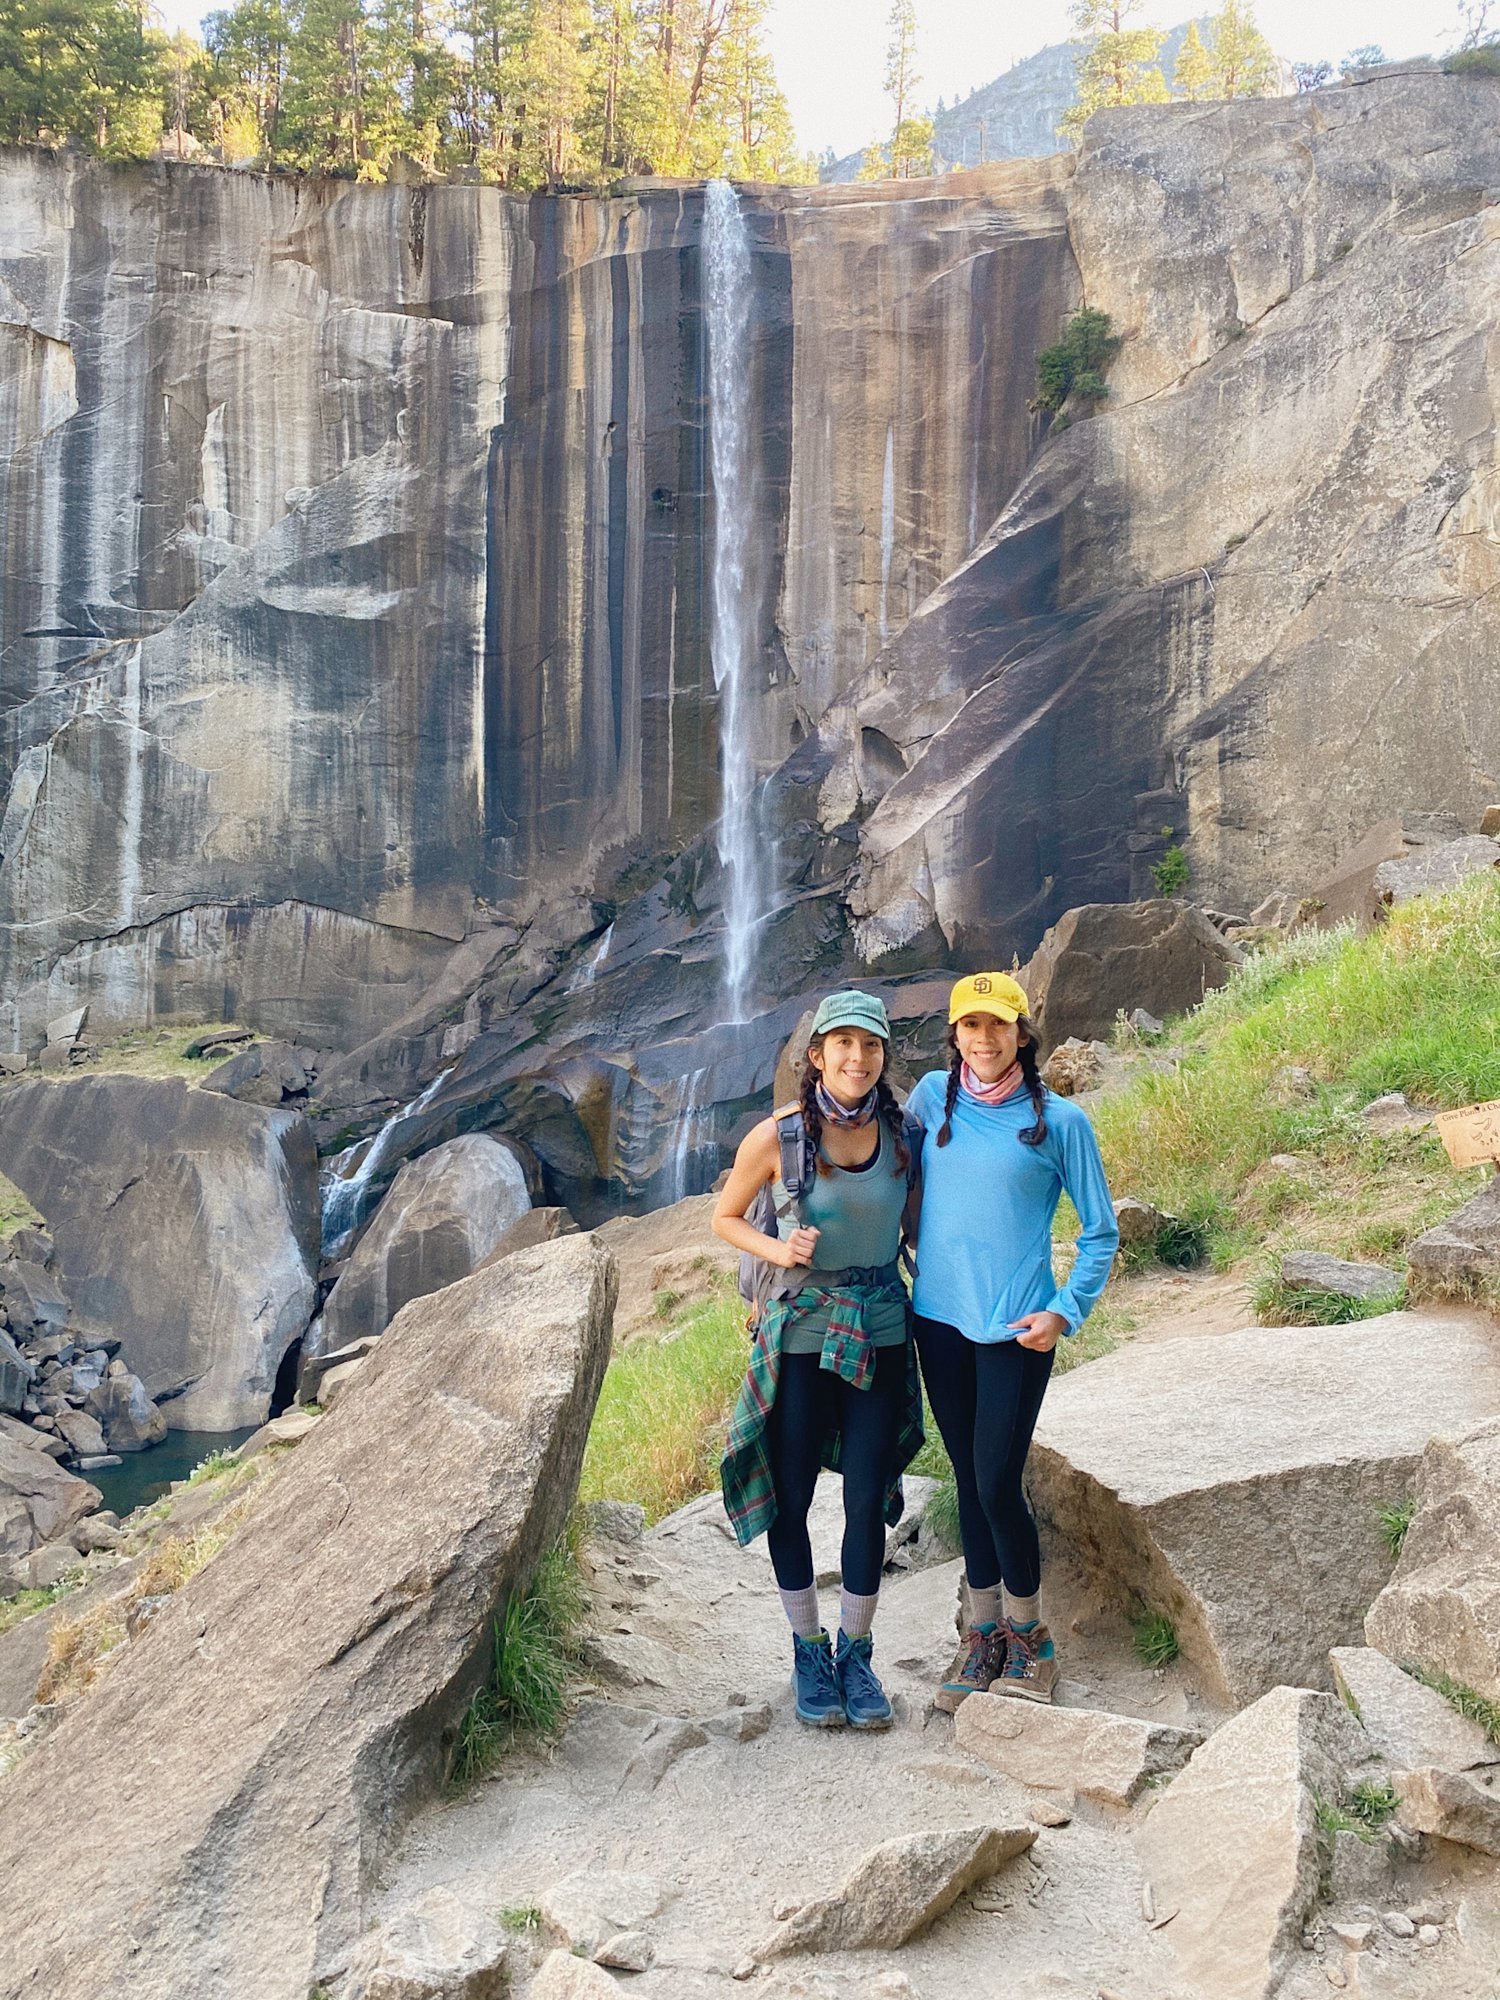
This article was all about beginner’s hiking essentials.
As a beginner, it is important to learn about how to select, prepare, and pack for a hike. Leave No Trace is an important guide to live by as you embark on your outdoor adventures. I hope that this article was helpful and makes you excited to lace up you hiking boots and explore. Happy Trails!


 #goprohero11 #d
 #shootf

 .
.
.
Thank you to everyone who w
.
.
.
Thank you to everyone who w
 @stephanievigen
 #pentaxk1000


